Machining Portfolio
Single-Point Cutting Tools
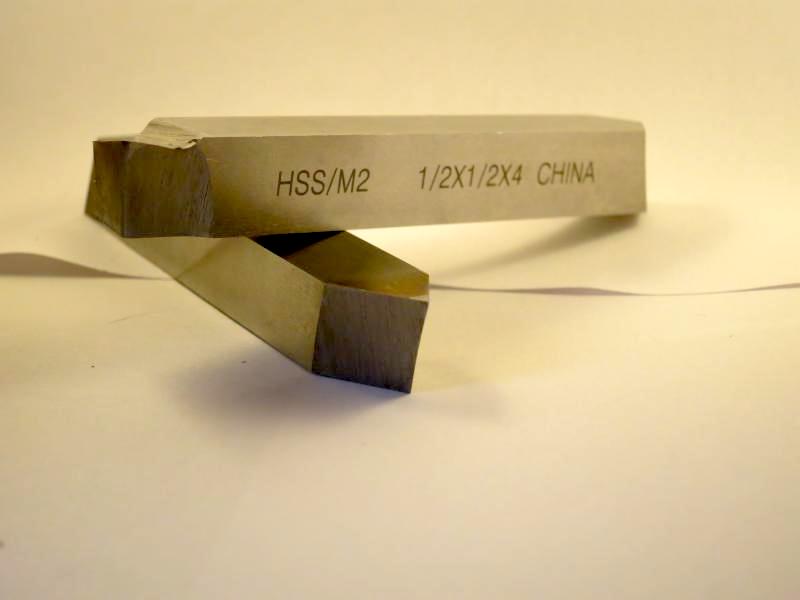
Grinding of HSS single-point cutting tools using a pedestal grinder. Created left- and right-hand turning/facing tools, 45º chamfer tool, and 60º threading tool. These tools were successfully used to machine the following Threaded Shaft lathe project.
Threaded Shaft
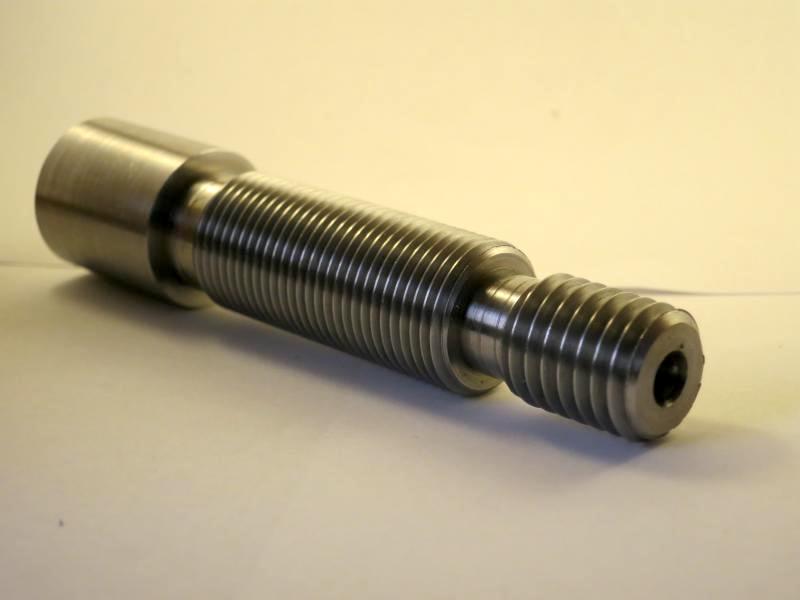
Machined a threaded shaft as an introductory lathe project. (See the project packet) Learned turning and facing, center-drilling, grooving, chamfering, and single-point threading.
Angle Plate
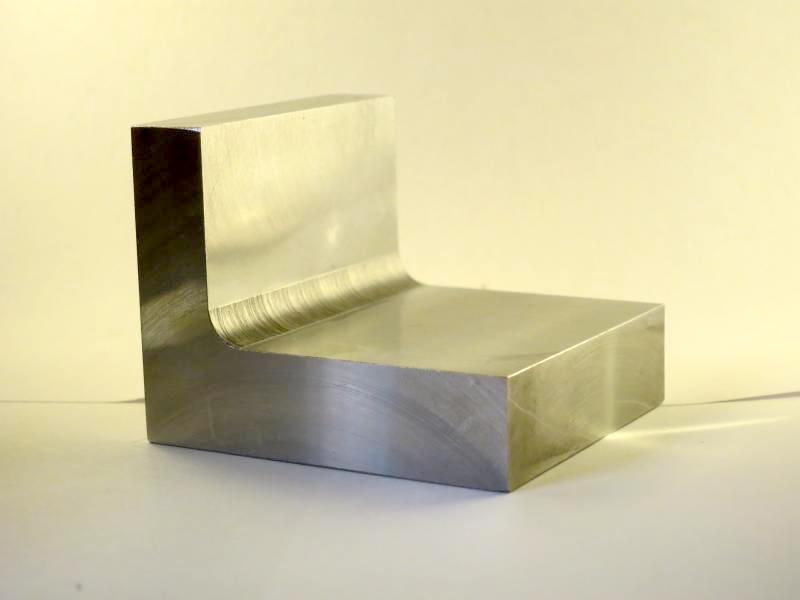
Fabricated a precision 90º angle plate as an introduction to the milling machine. (See the project packet). Learned how to tram mill head and align mill vise, square up stock, use an edge-finder, drill/ream holes, blend a radius, and employ HSS end mills, carbide shell mills, and fly cutter to achieve desired geometry. Exceeded .001" flatness, perpendicularity, and parallelism tolerances.
Chair Edge Finder
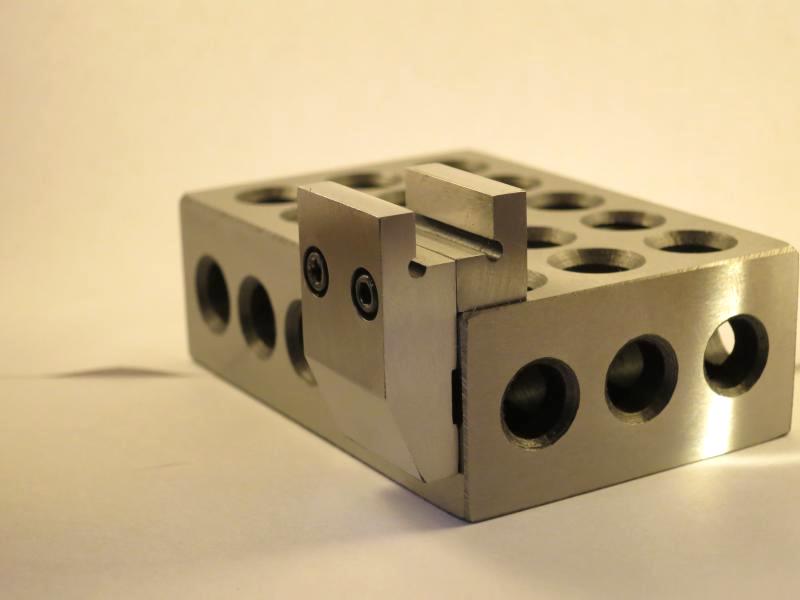
I fabricated a chair-type edge finder from existing blueprints. I developed a job plan, milled the components from D2 tool steel, then heat treated them in an industrial furnace to achieve ~60 Rockwell C. I used a surface grinder to ensure symmetry between the two halves, and hand-lapped the non-critical surfaces to achieve a bright surface finish.
Decaleur Parts
I duplicated the original decaleur fixing nut, allowing the user to easily switch the bag support between two different bicycles. I made this part at home on my little Sherline lathe.
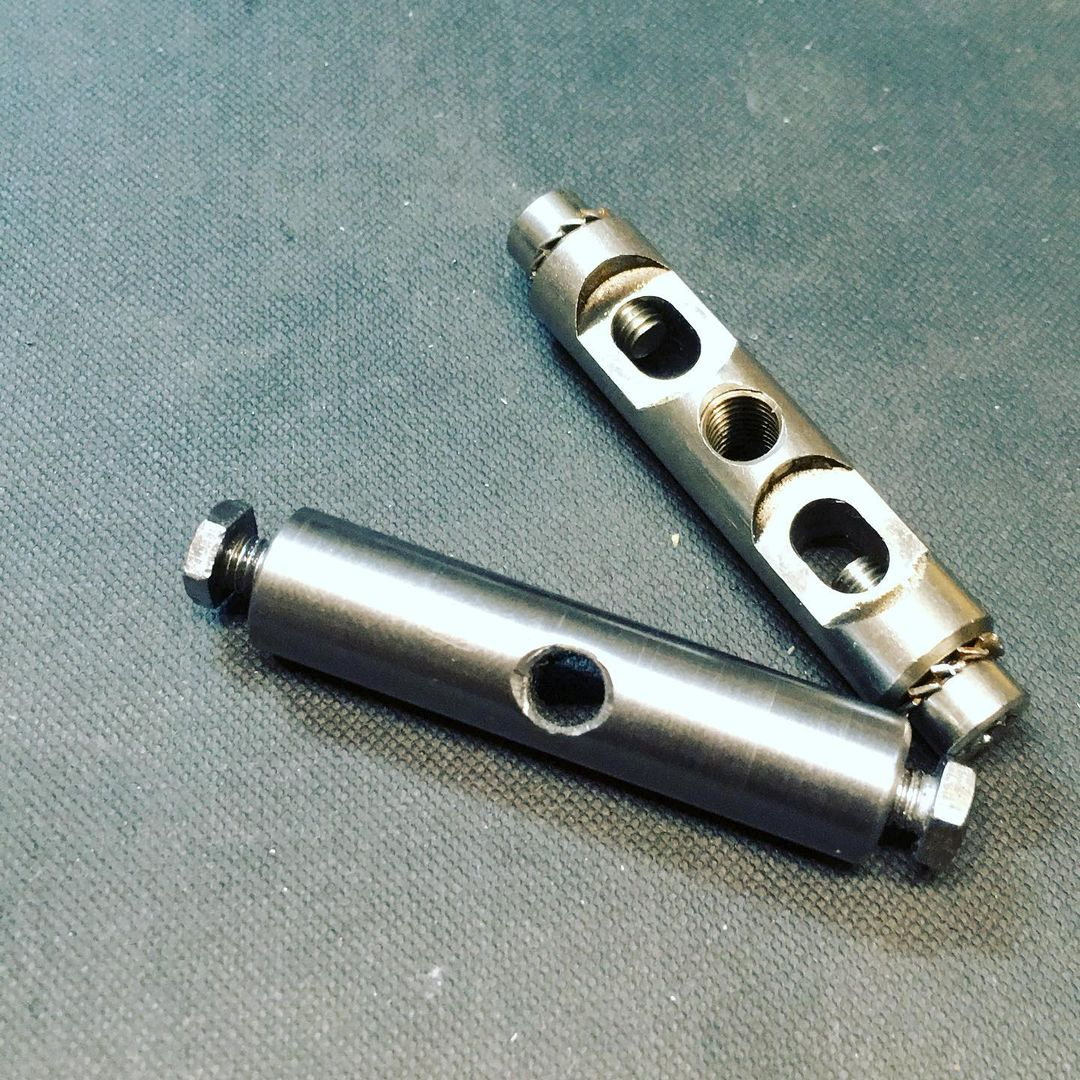
Dummy Headset
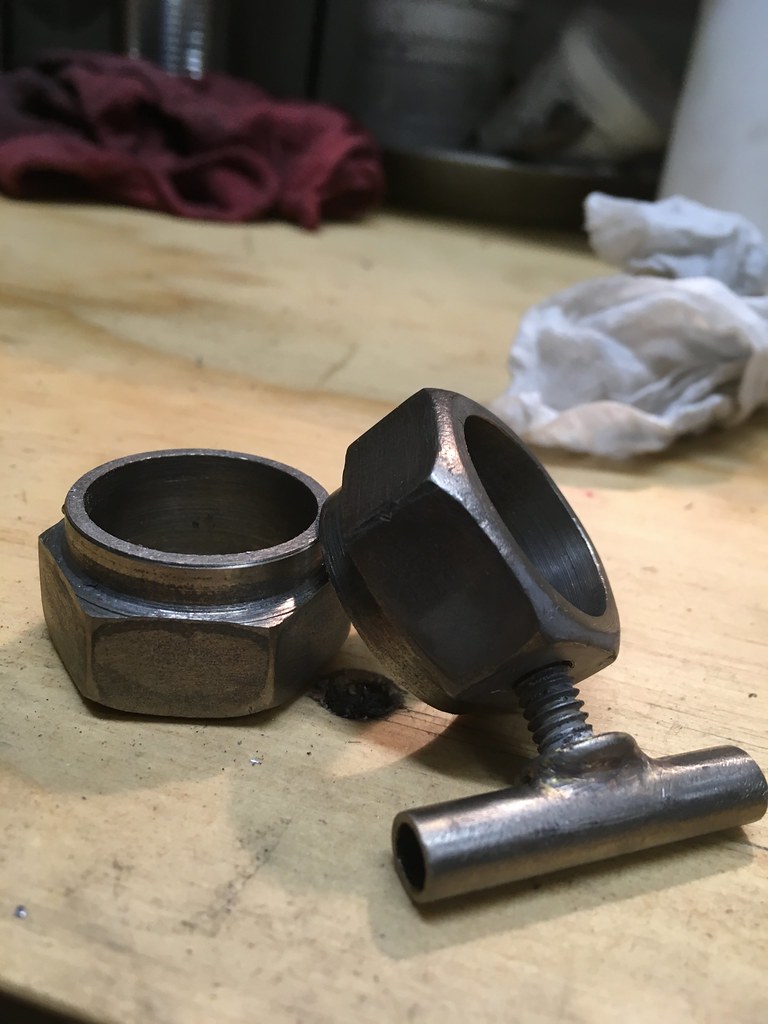
A dummy headset is a useful tool for working on bicycles, since it can temporarily hold the front fork in place. I fabricated this part from two large nuts I found at the local hardware store. A tapped hole allows the wing screw to clamp down and hold everything in place. I also made this part at home on my little Sherline lathe, and then gave it a quick DIY nickel plating to prevent corrosion.
Steel Bushings
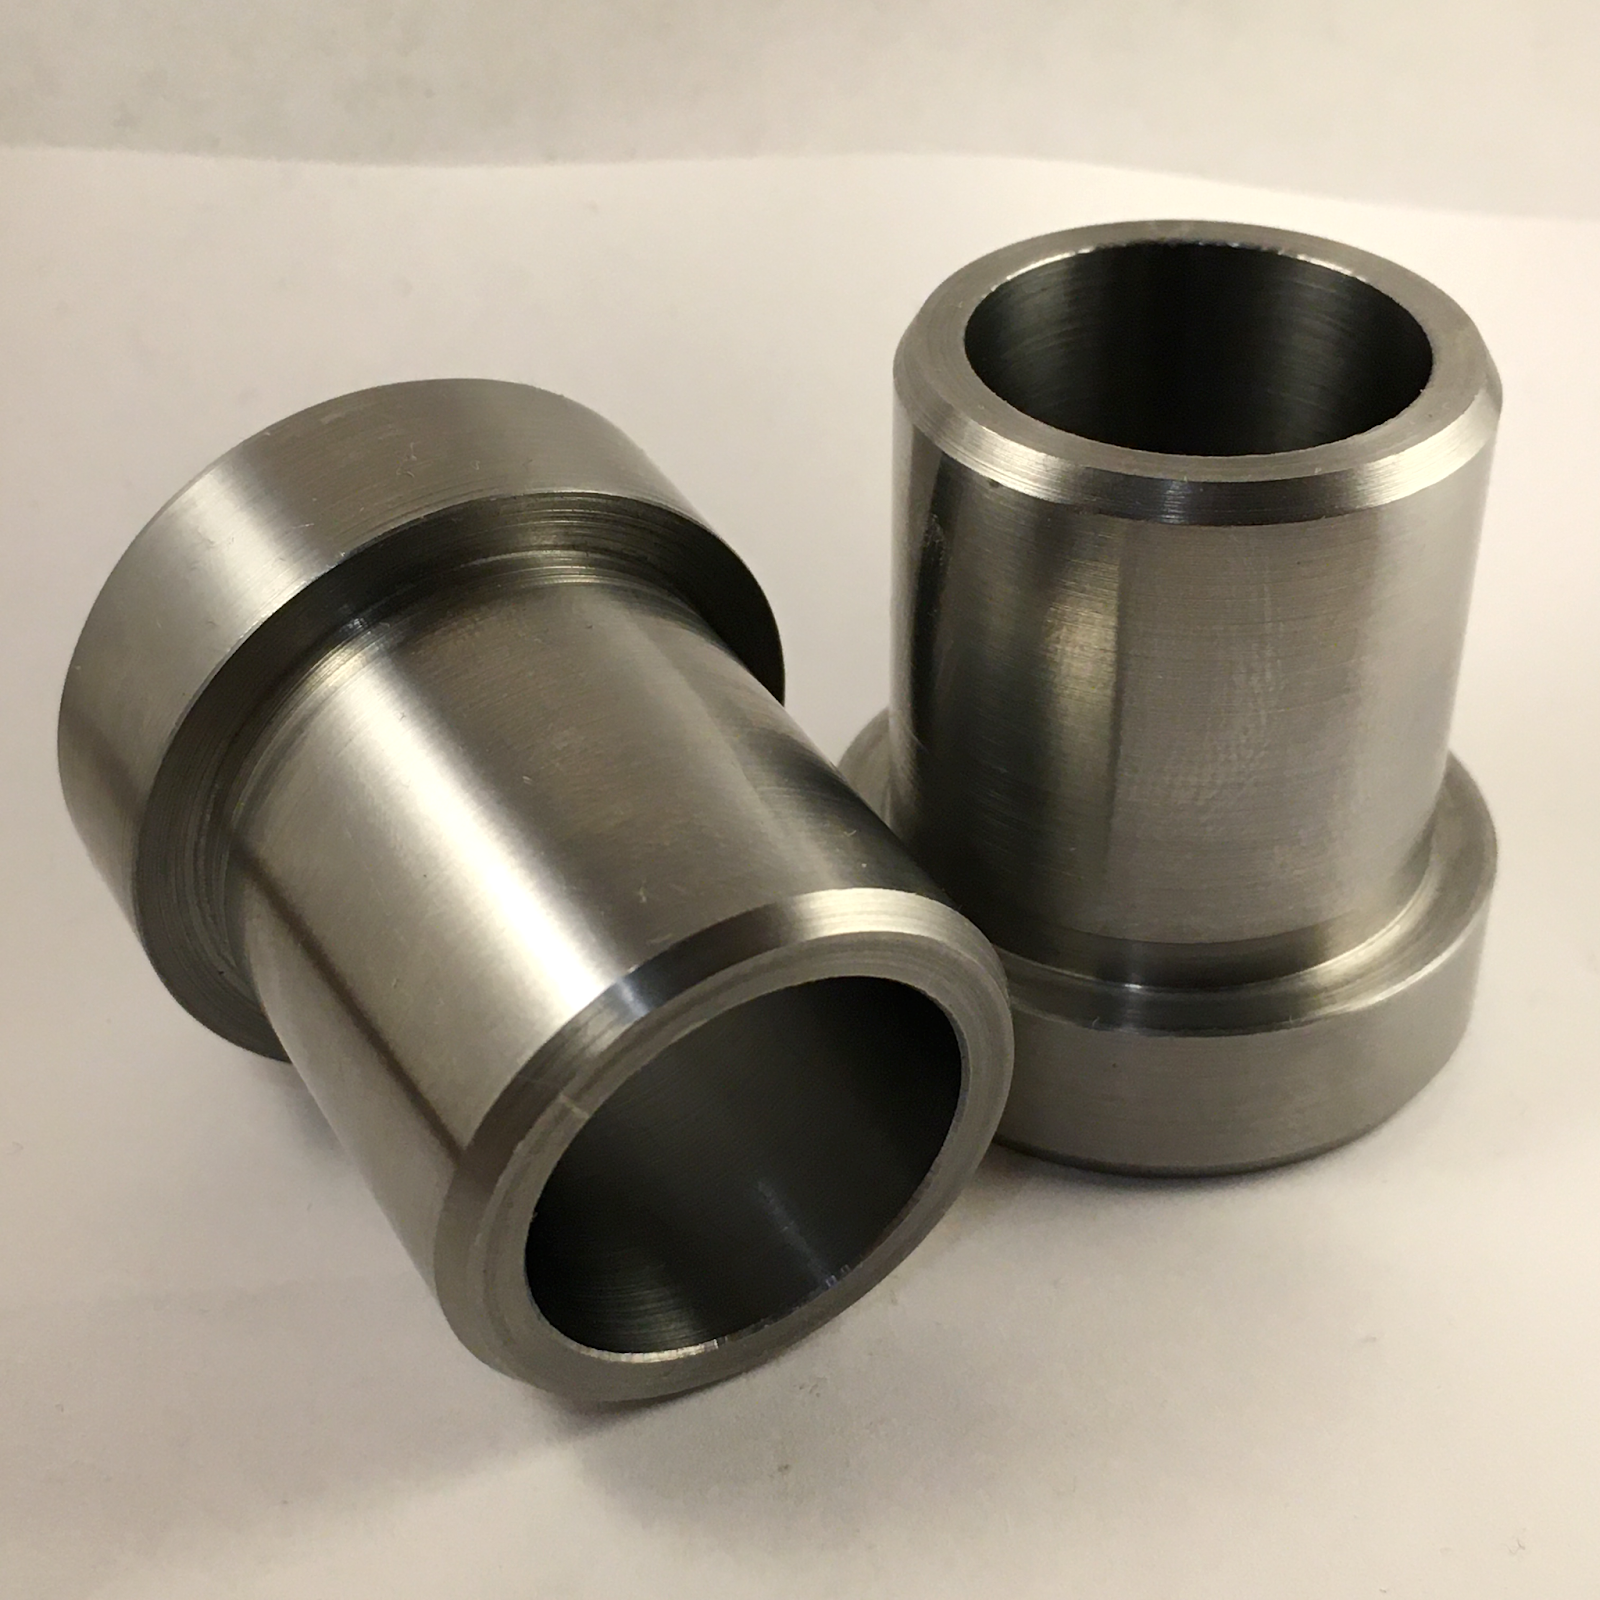
In this project, I gained experience with some common operations on the lathe. I learned about the design and nomenclature of carbide insert tooling -- how to decipher the letter codes, what the different insert shapes are, and the two main types of coatings used on inserts (CVD and PVD). I used those inserts for facing, turning, boring, and parting operations on the lathe. Using the boring bar was particularly challenging, as this tool is very prone to chatter -- very low RPMs and raising the nose of the cutting edge seemed to help. I also learned about soft jaws -- how to set them up, and how they can be helpful for production runs on a part.
Plug Gage and Round Nuts
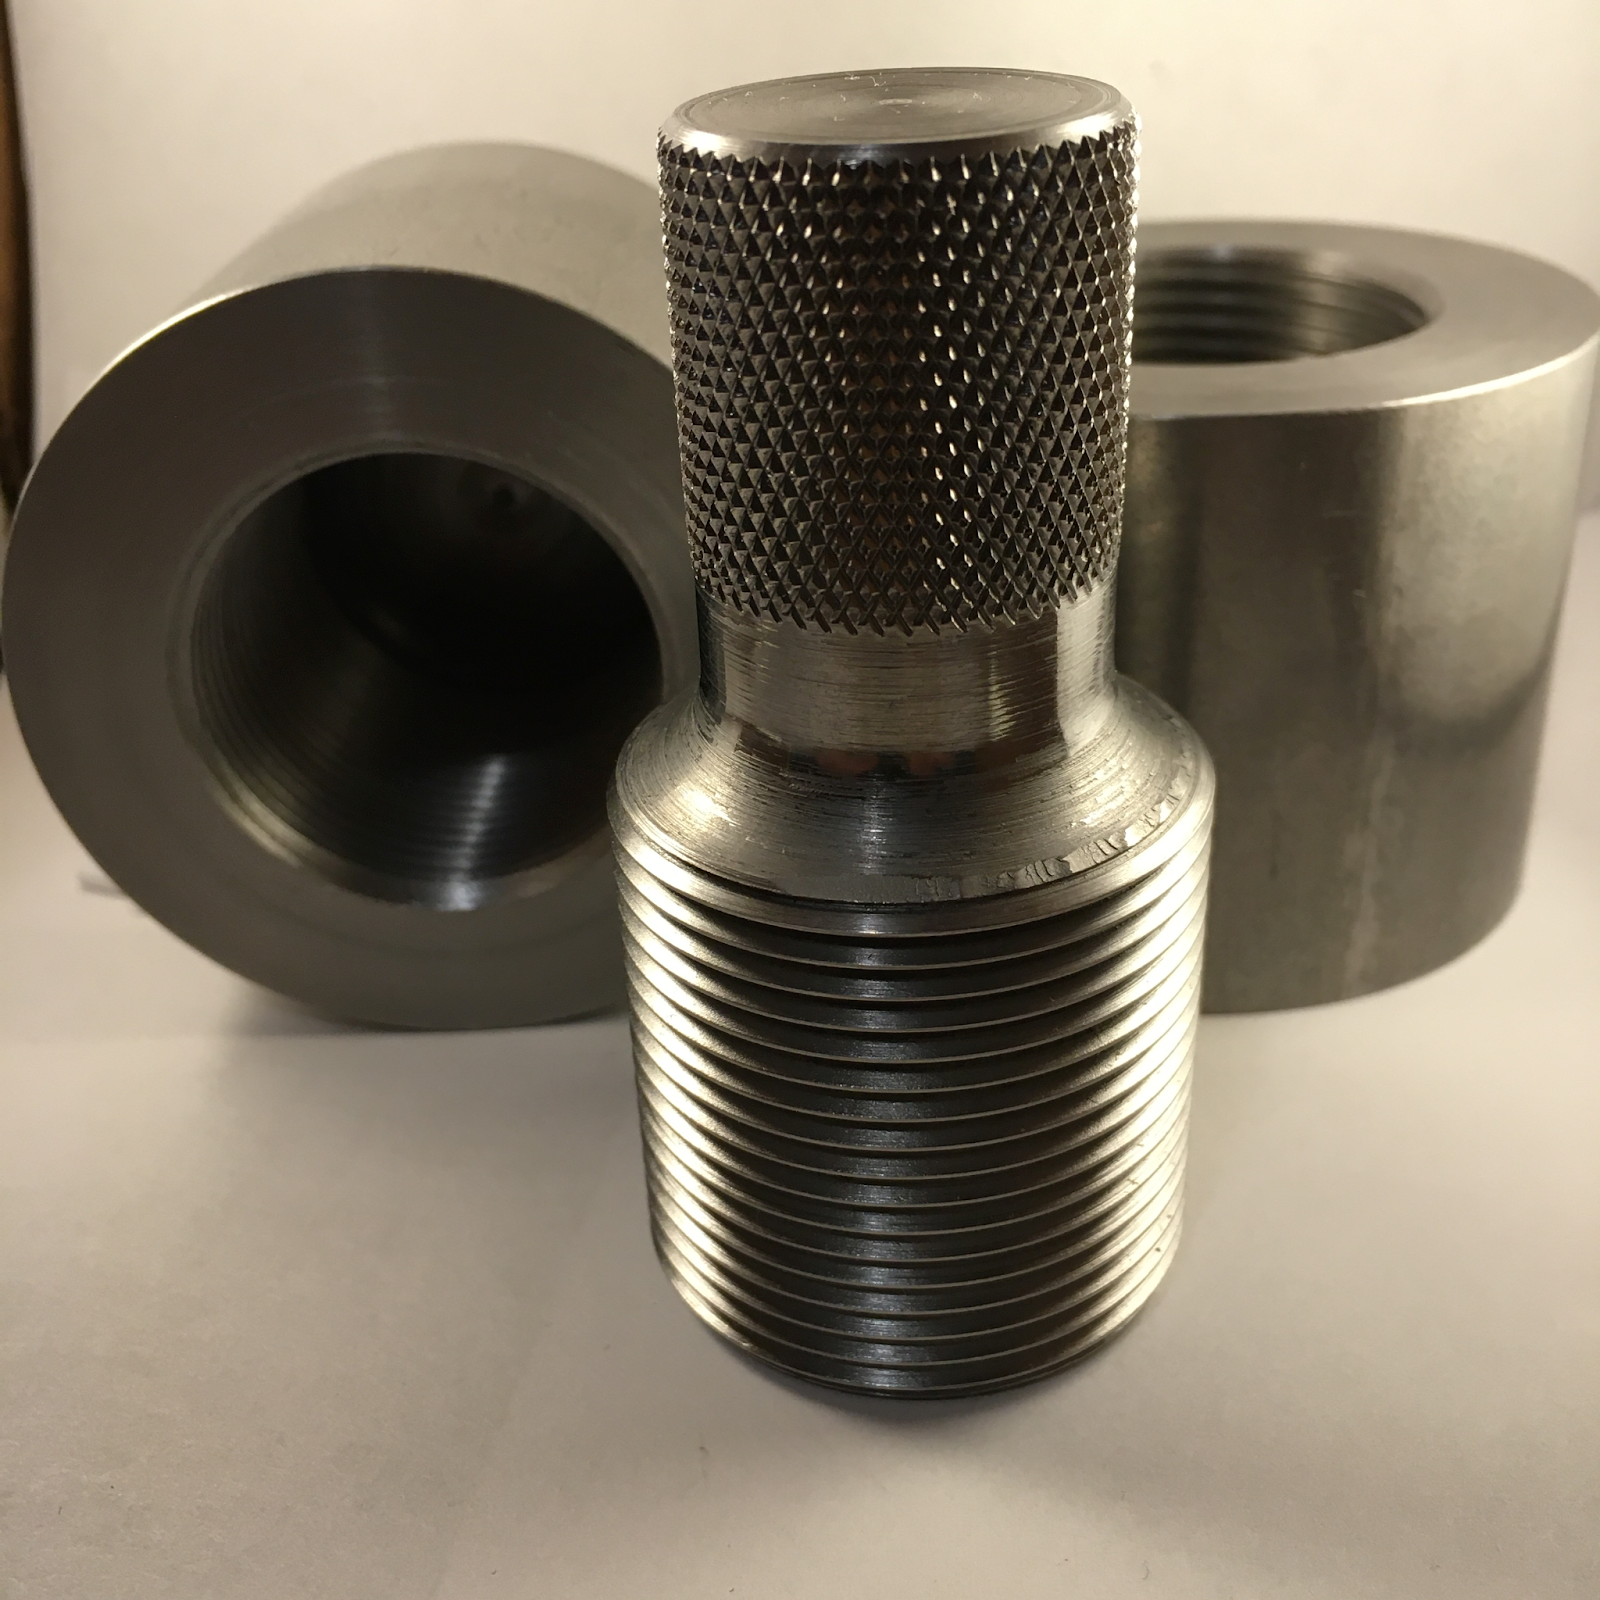
On this project, I gained experience with a collet chuck, including selecting the proper size for the work, and understanding the limitations of the resulting clamping force requiring lighter cuts (e.g. when threading). I learned how to use a round form tool to cut an external radius on the part. I also got familiar with generating diamond knurls by using a knurling tool. Finally, I learned how to "fly blind", trusting the machine dials and my ears to cut internal grooves and screw threads.
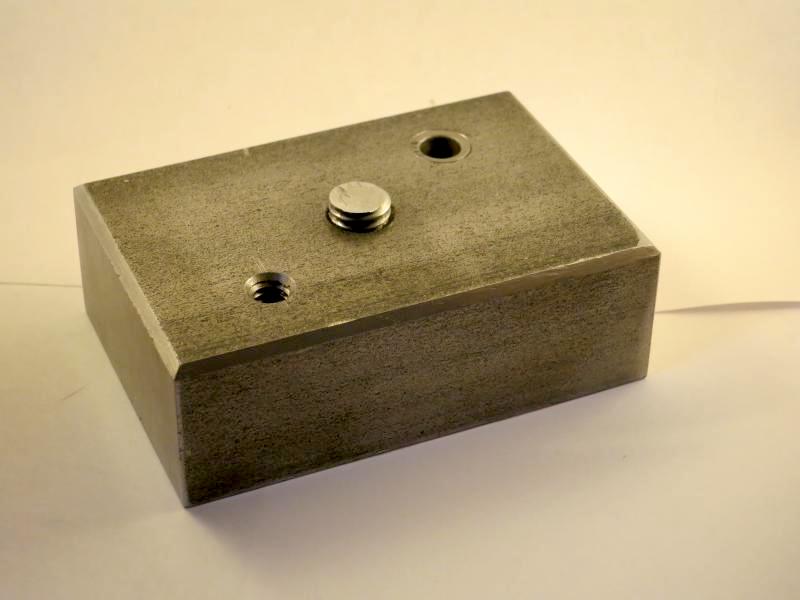
NIMS Step Block
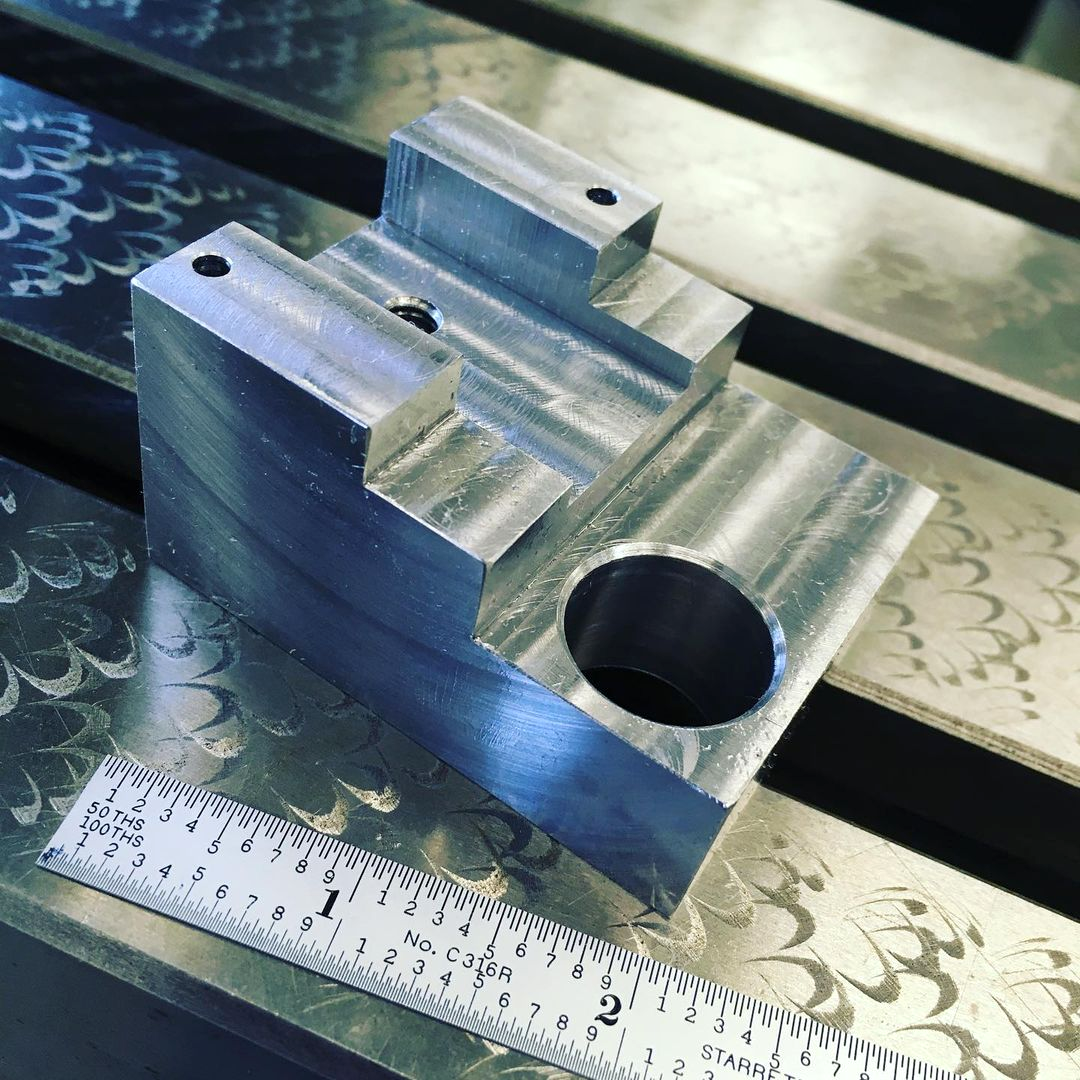
In this project, I gained experience writing my own project plan, using a roughing endmill and an offset boring head, and milling/finishing a slot feature. To stay organized, I wrote out my project plan using a Google spreadsheet, with separate pages for the roughing, finishing/slotting, boring, and drilling/tapping operations. Someday I want to build out this spreadsheet template further, adding functionality that would allow me to select the material and enter a diameter, and then automatically compute the required speeds and feeds. The roughing endmill easily chewed through a cut .625" deep by .500" wide -- I don't think the machine strained at all, leading me to believe that a deeper cut is possible! Setting up the offset boring head was a little tricky -- I wasn't sure whether the adjustment dial represented a change to the diameter or the radius of the resulting hole, so I did a few cuts on a practice part to figure this out (it reads on the diameter). To complete the slot feature, I learned how to employ the mill's DRO with an edgefinder to calculate the approximate center plane for the slot, and then to fine-tune the location of that center plane through a sequence of multiple cuts and measurements on the opposing slot walls.
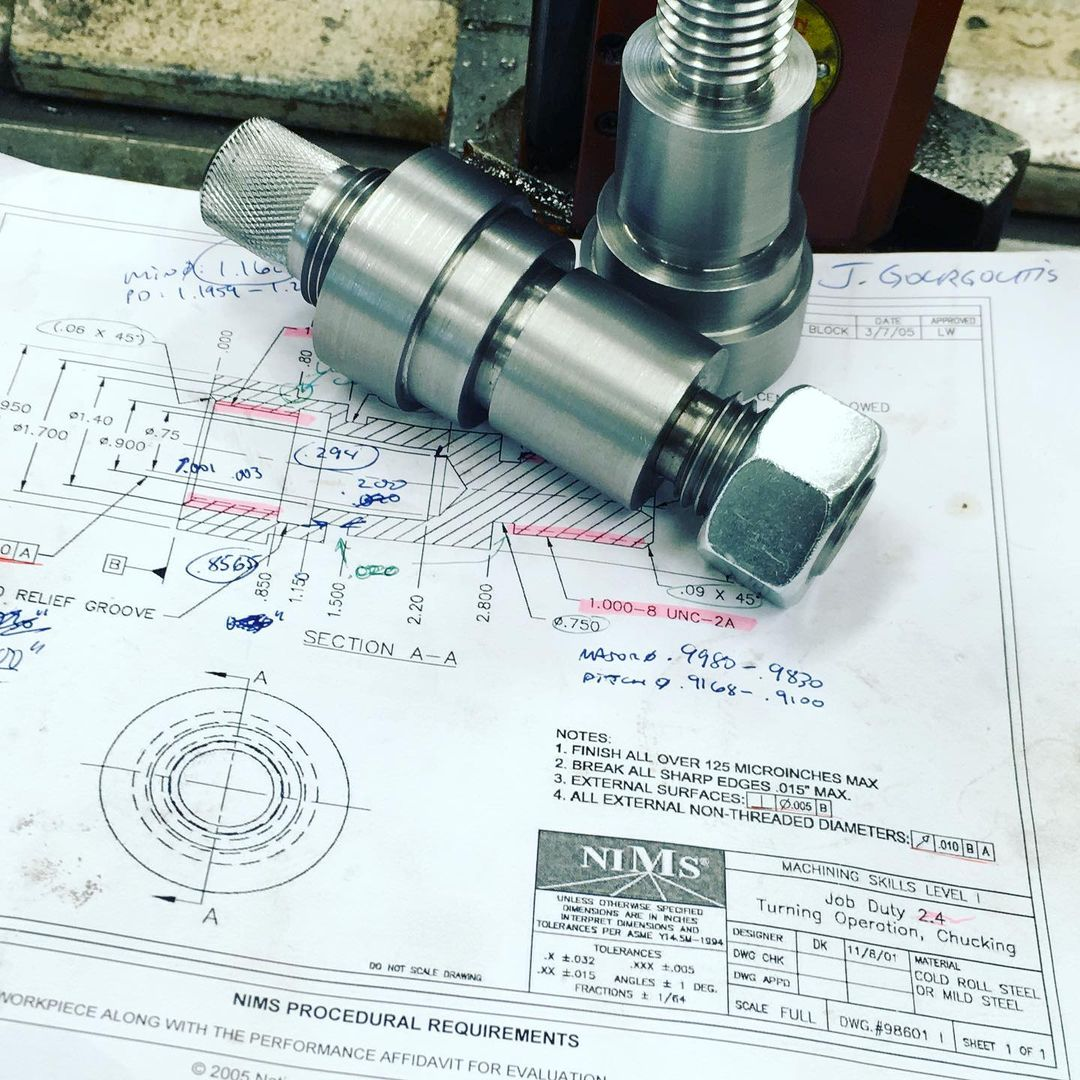
NIMS Chucking
Solidworks Final Project
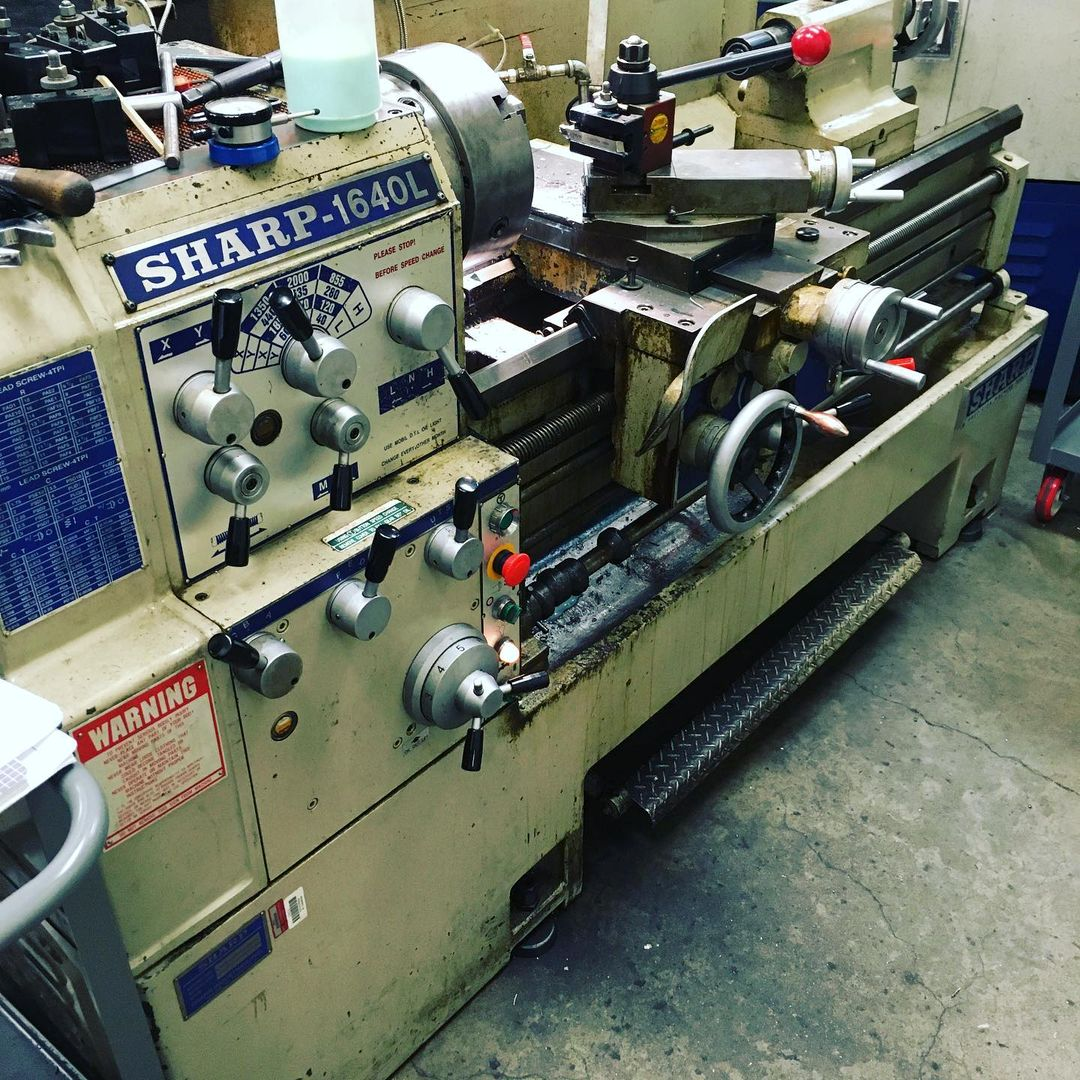
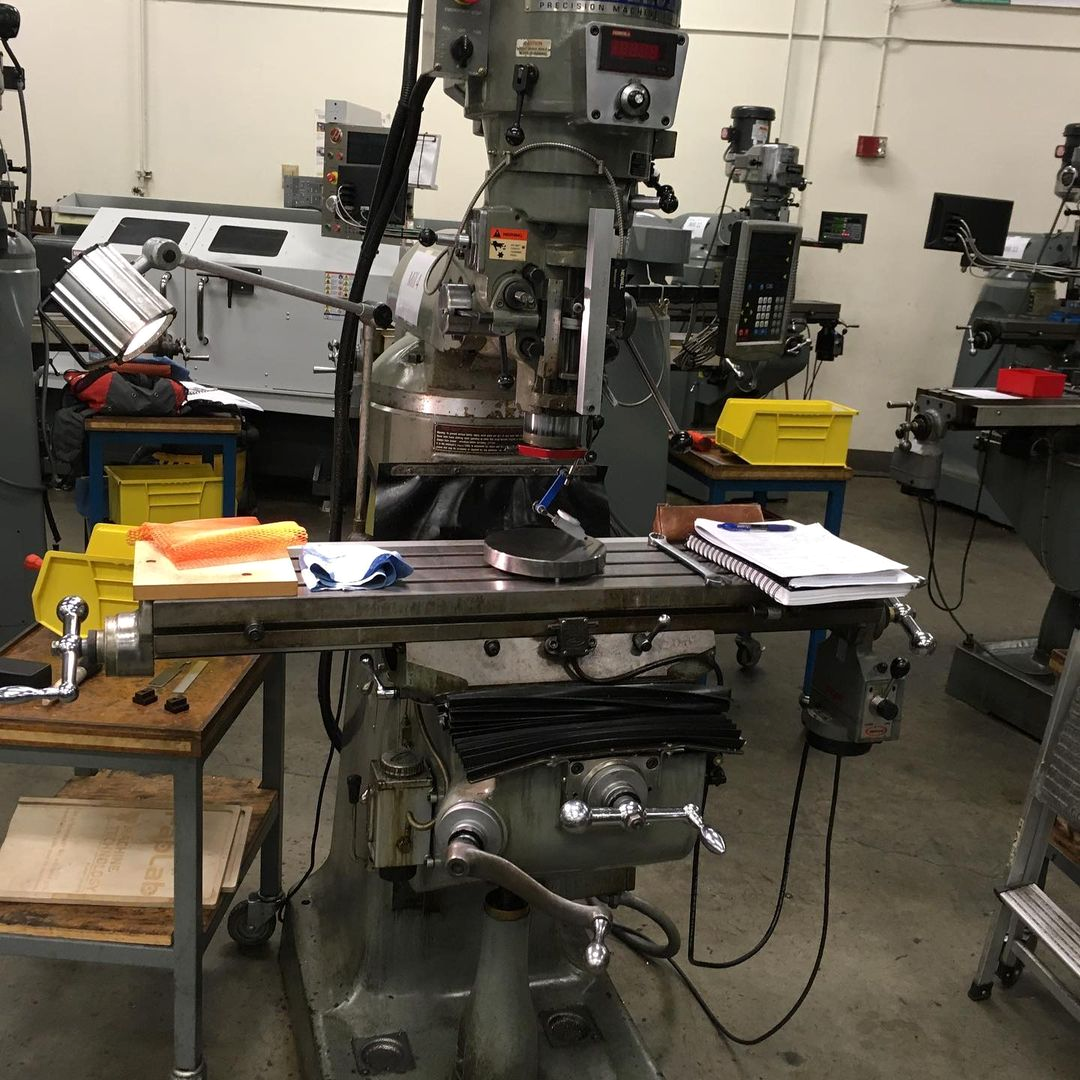
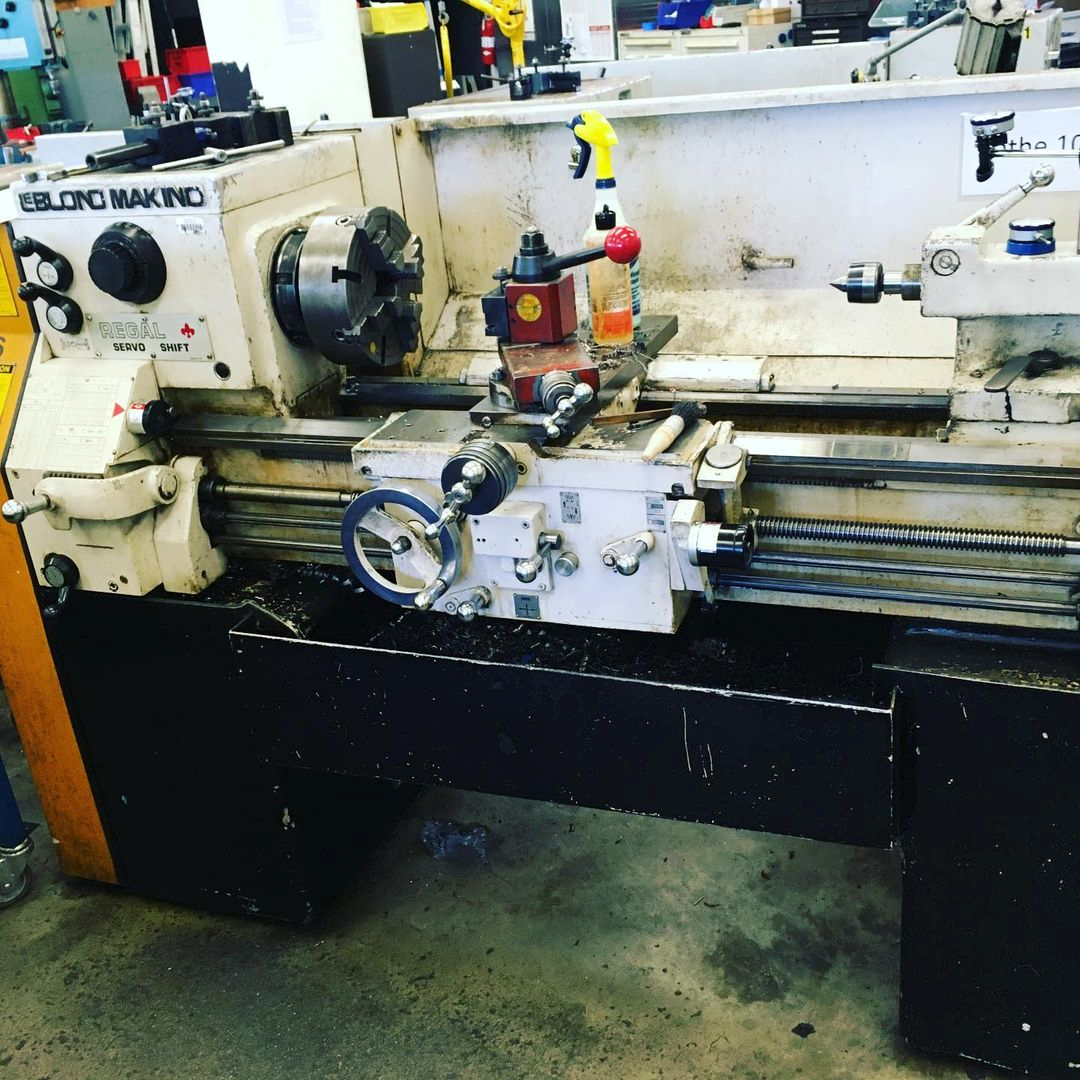
Examples of Machines I've Used